Tap Here for Navigation
Home
All Articles
All Reviews
Music
Guestbook
Gallery
???
Not listening to anything right now.
Roughly four or five years ago I bought an iPod video as a present for myself. It was a great little device that I loved using daily, up until it started developing a certain fault that was common on older iPhones with the Home Button — primarily the Center button wasn’t activating when you pressed down on it.
One fateful night, I decided to take action and try to fix the problem. Pretty much, to explain the issue on the iPods (and the aforementioned iPhones too), the problem is that the switches under the button that you physically press get slightly displaced downwards, meaning that you now have to start pressing the button not from the centre, but from the bottom-centre. The solution to this problem on both iPhones and iPods is to disassemble the thing down to the switch and move it back to the centre for that perfect clicky button.
Opening these iPods is extremely difficult, and to be honest, I didn’t know what I was getting myself into at the time. What I had in mind was to basically just wing it. I may or may not have looked at a YouTube video (I can’t remember which one, but I remember them opening the thing up in less than 20 seconds, seemingly with ease and with no issues), and this planted the seed in my head thinking “hey, I can totally do this!”.
That was my first mistake. These iPods aren’t as easy to open as it is opening a bag of crisps, and especially so when you don’t have the correct tools to do so. I didn’t bother buying any tools as I figured I shouldn’t need any specialist tools as all I’m doing is just opening it up by undoing a dozen or so clips, unscrewing some screws, then moving a small part slightly.
That was my second mistake. The tool that I had, an iFixit knife that came from the Essentials Toolkit, should’ve been fine in theory. And it was in theory, fine. The final, and fatal mistake was — I was careless. As I mentioned before, I saw on YouTube just how easy people opened iPods. What this did was embolden me and made me assume that I could get it done in less than 5 minutes, bish bash bosh.
Ha, ha, ha…
Little did I know.
I started opening the iPod, deciding that going for the top clip first out of many that holds it all together, was the best idea.
I don’t know how.
I don't want to know how.
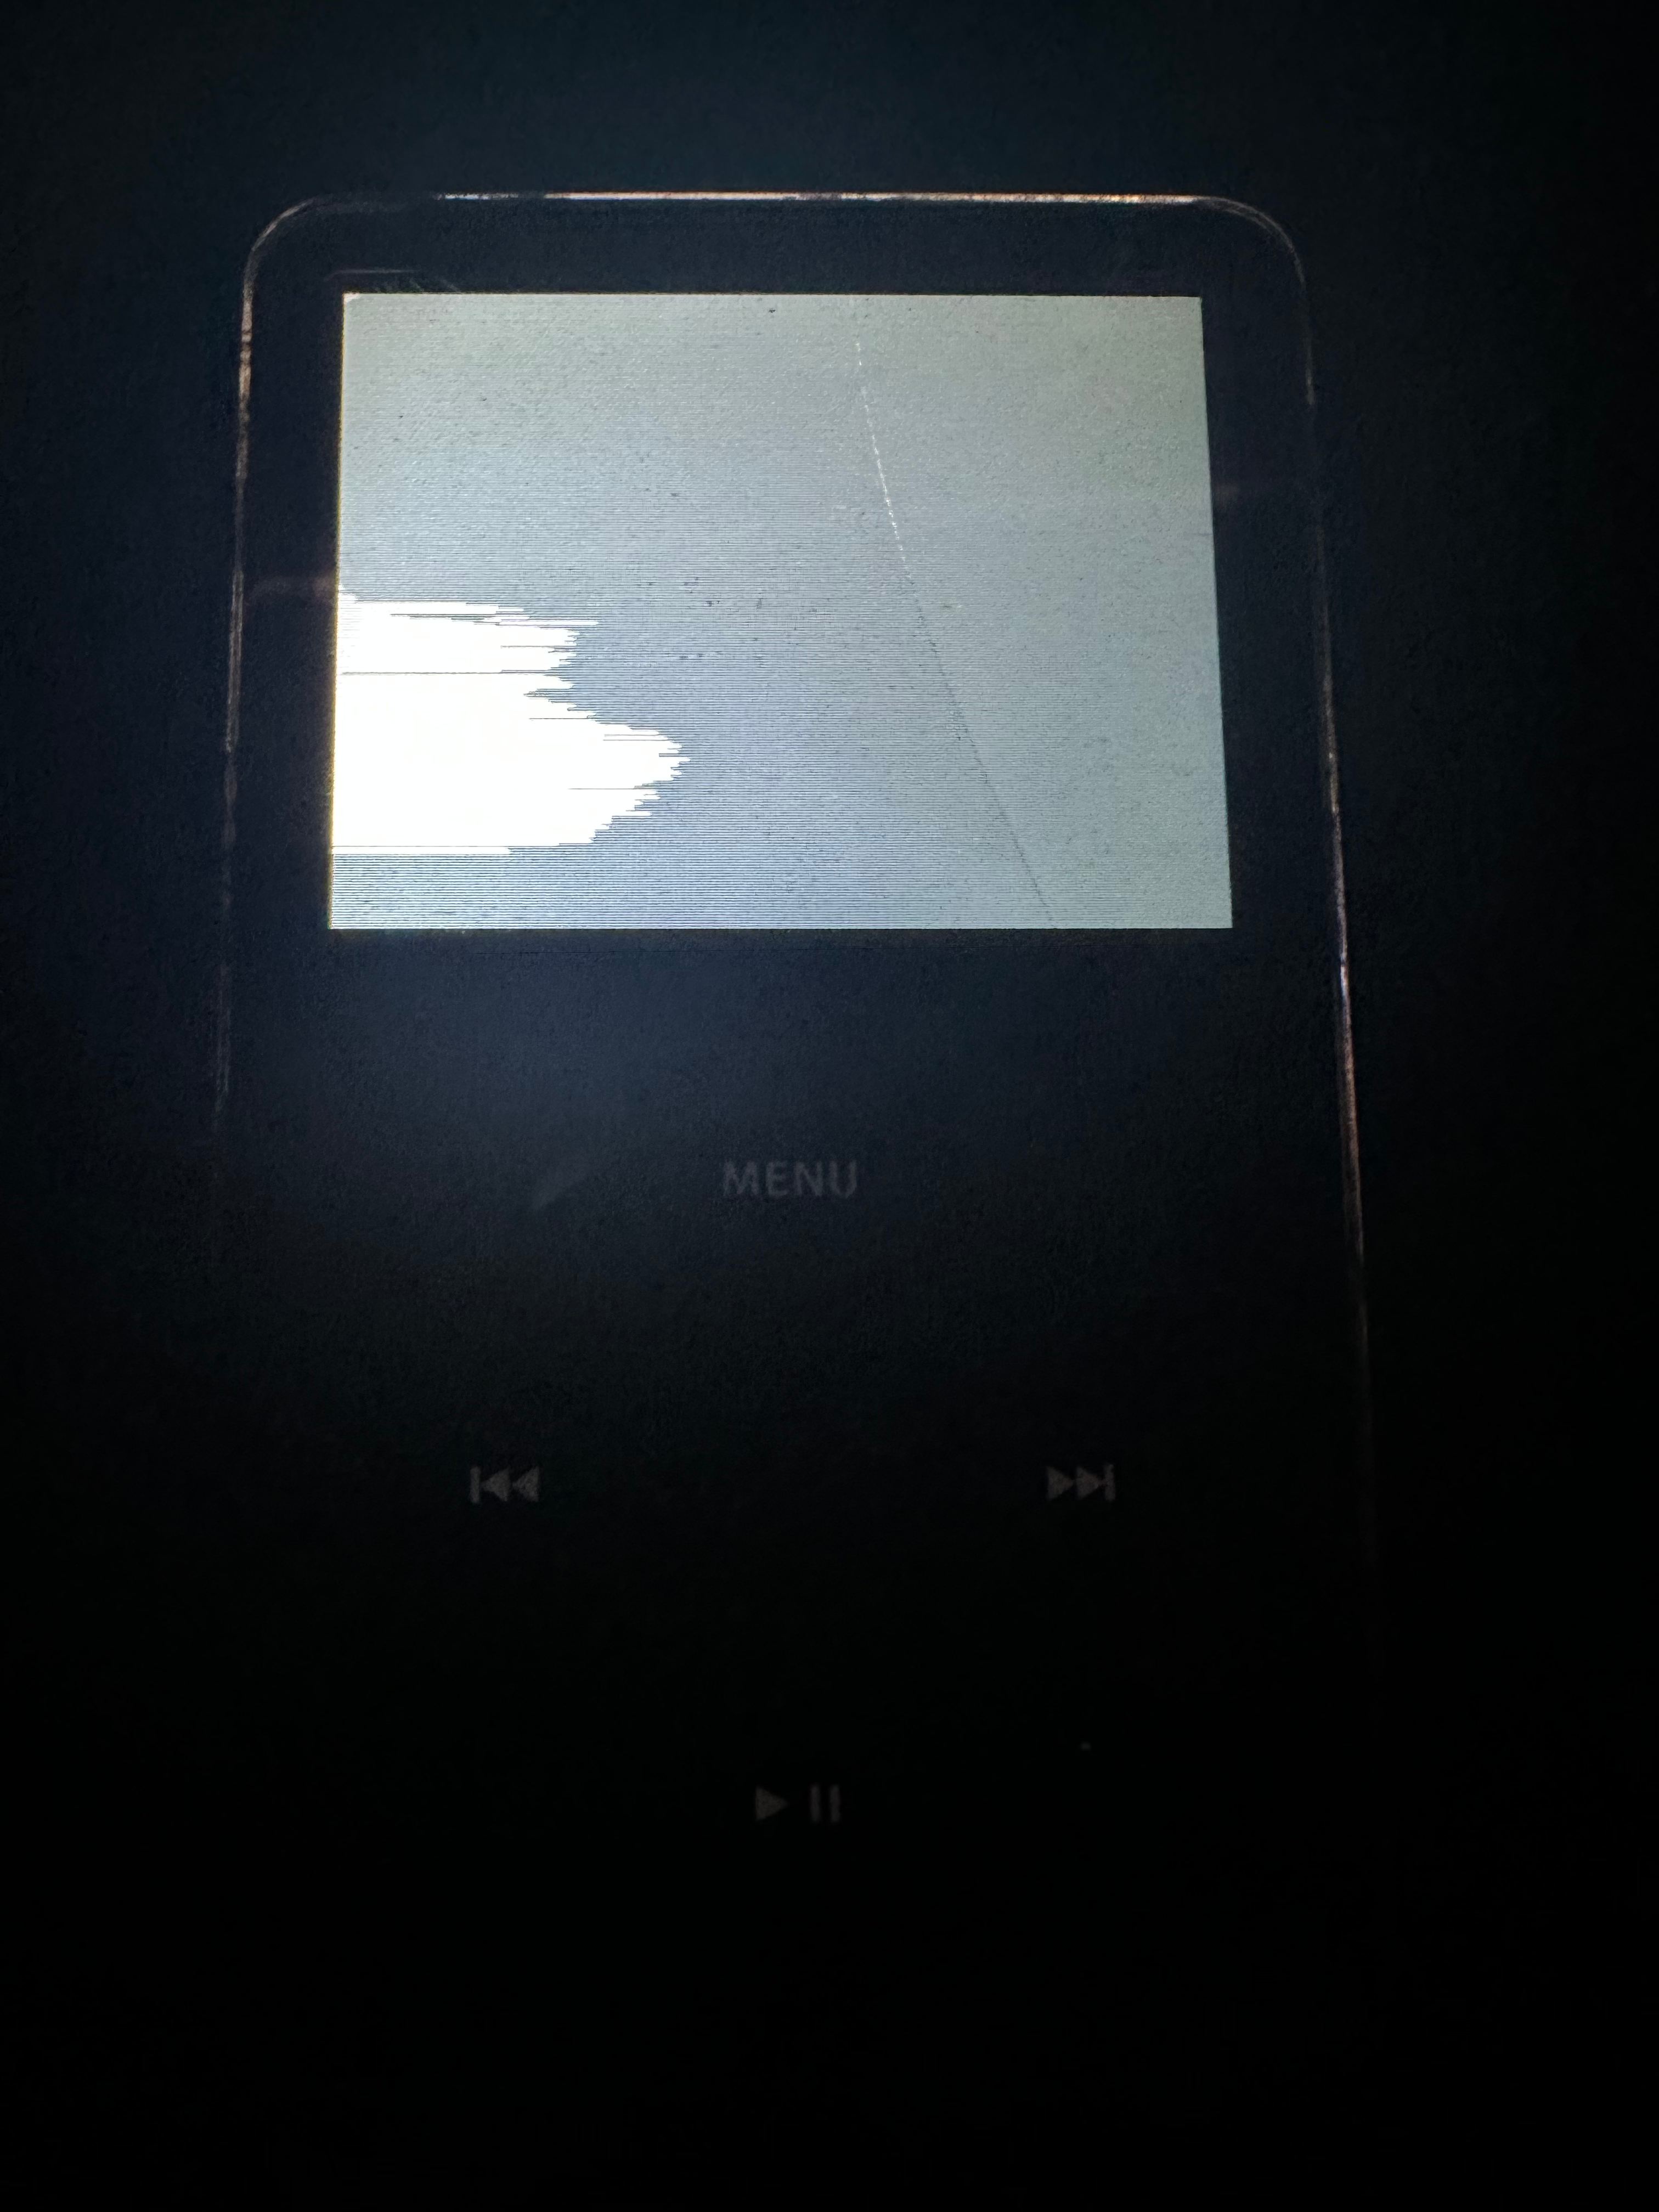
Somehow, while slipping in the blade into the tiny slit separating the front and the back to start opening the iPod up, I manage to go up and over, bypass a metal frame that holds and protects components together, and shatter the screen, instead. The award for the least qualified individual to do any sort of iPod repair goes to me. Yippee!
Anyway, this obviously rendered the iPod’s screen pretty much unusable if you had the backlight on. Regardless, I kept going, even with the self-inflicted repair damage. I brushed it away as “eh, it’s something that I can easily replace!” Regardless, it’s not something that you should do when you mess up a repair. You should instead stop immediately, try to see where you’ve gone wrong, and hand it off to someone who actually knew what they were doing, if you weren’t confident enough.
That would have been the smart idea. But I’m not a smart person. I’m, in fact, a very, VERY dumb person. Long story short, I undo the clips on my iPod slowly, using the iFixit knife, and then finally get in. I do the next part correctly actually, and with complete smooth sailing. I undo the battery connector. I also undo the very fragile hold switch and headphone jack connector. I take off the back of the iPod, unscrew the screws connecting the midframe to the front, take the front off to get to the click wheel, and, then finally, do the repair.
Success! The repair went well, and I got the magnificent click back in the Center button. Unfortunately, this massive win was very short-lived and was cut abruptly into shock and horror as I accidentally did irreparable damage to the iPod’s motherboard by ripping off the fragile connector that connects the hold switch and headphone jack.
That was unfortunately, the last straw, as the damage was a LOT more difficult to repair compared to a simple screen repair and needed a new board, as it wouldn’t play anything from the headphones ever again. This is where I kind of gave up on the iPod and just shoved and hid it into my drawer, exactly like I do with all the problems in my life.
The main take-away from that was the fact that, hey! I should not be so careless with these things – they’re fragile and you shouldn’t really rip them apart like I did.
The following image attached may cause distress to people who like technology repair. Please be advised.
Cut to 2025. The iPod dream has come back. Instead of buying a 5th generation iPod video, which has the plastic front, I went for the 7th generation iPod instead. They’re a lot harder to open than a Video, but you get a nice metal front on your iPod instead. The iPod was bought from a used goods store somewhere in England, and honestly, came in a lot worse nick than the photos showed. Worst of all, not even a day in, the iPod’s hard drive failed, making it yet another necessary repair.
I intended to flashmod the iPod, because it’d give me significantly more internal storage space for the iPod, and battery life too, as the iPod wouldn’t have to waste battery on the hard drive thrashing and spinning around. So be it, fifty pounds spent on an iPod, I also shell out for an iFlash Quad, the board generally well-regarded for flash modding iPods and a 256 gigabyte microSD card.
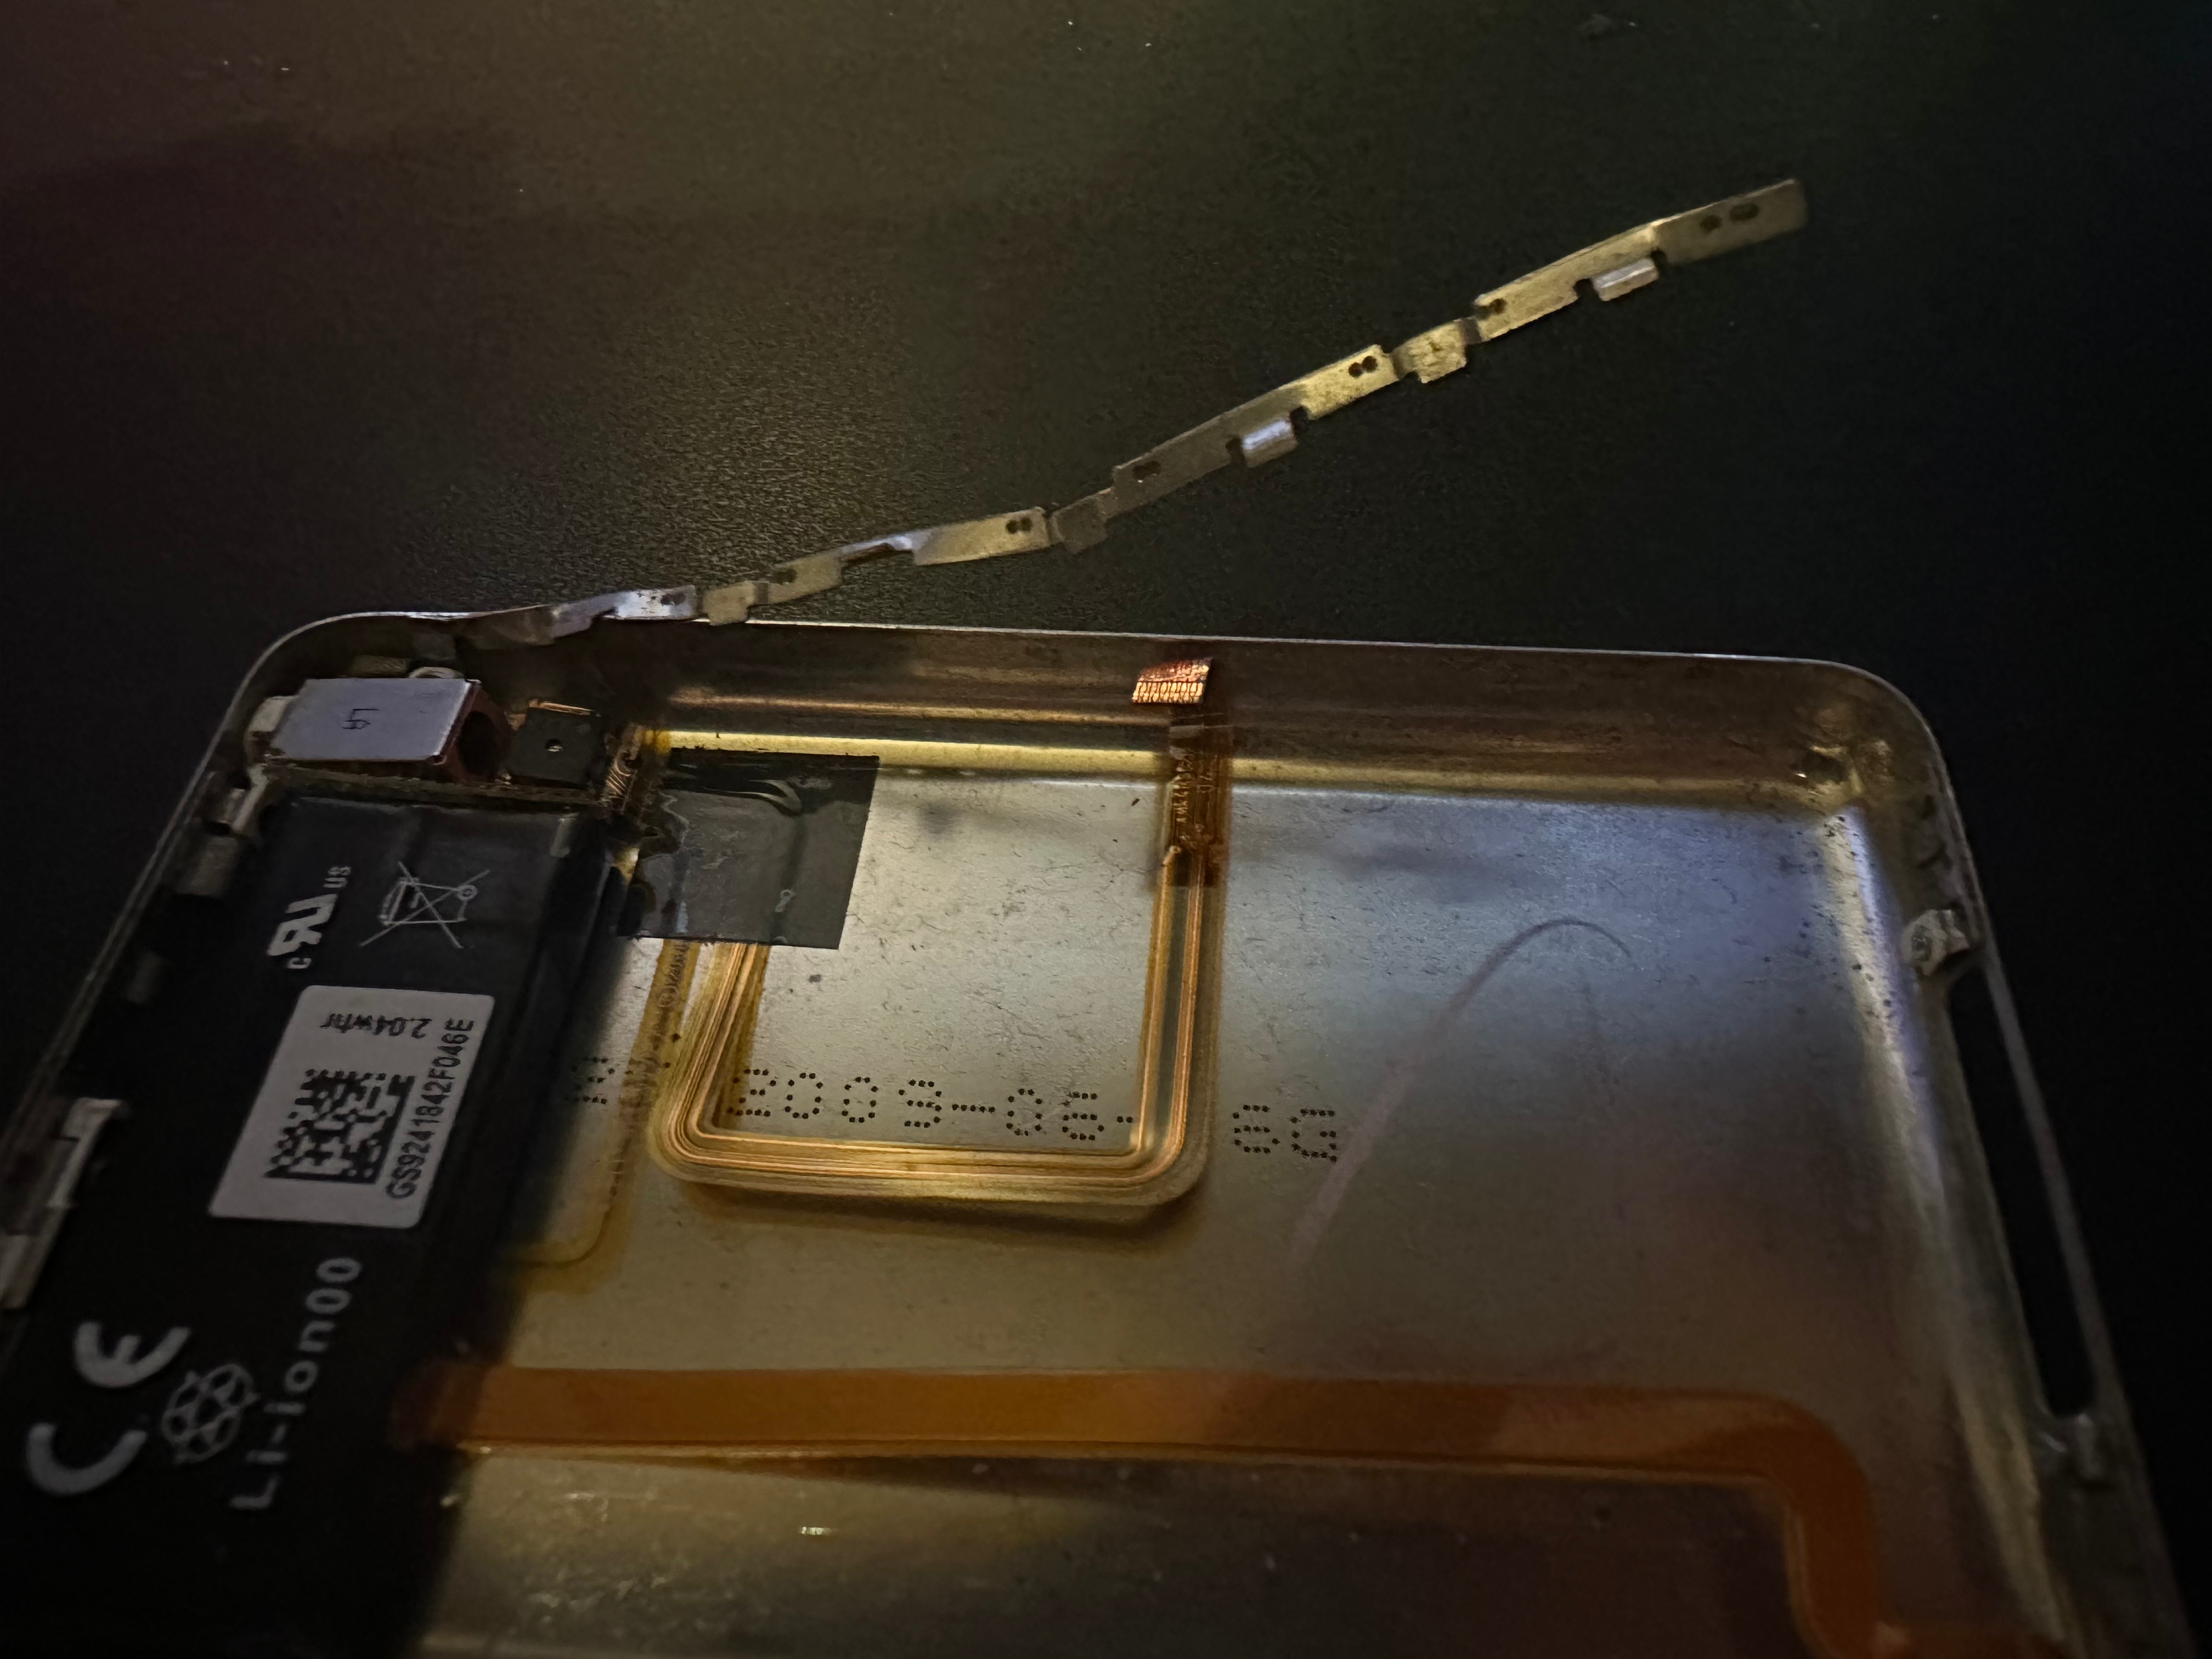
Eventually, the process repeats: I had to take the iPod apart. I took my time – still using the same iFixit knife I used the first time. This time around, I didn’t immediately break the screen, I did something considerably worse. While opening the iPod up, at first it didn’t appear I caused any damage. But, as I kept opening it up, it became very apparent I did SIGNIFICANT damage to the iPod’s backplate’s rails, which is the part that is responsible for holding the clips that keep the front and back connected in place, making it impossible to put it back together. I don’t know how, but I also managed to rip the battery connector right out of the iPod, rendering that board also useless.
Once again, the following attached image may cause distress to people who like technology repair. Please be advised.
This obviously left me peeved. That’s two iPods that I’ve ruined. This time, my mistake was not paying better attention to instructions. Over the time, I had forgotten how to open iPods, and, well, my overzealousness had struck again. My thought process was that if I had remembered the instructions on how to open iPods correctly (which I obviously didn’t, *cough* breaking the screen and the connector), I couldn’t possibly forget how to open it up, surely not!
This time, THIS time, I’ll do it right. I bought an iPod classic from Cash Converters, and from there, when it was delivered to my home, I noticed it had an issue that warranted a repair from the get-go. Kind of a pattern with these devices, huh? Regardless, the iPod had a case of the Black Spot, which is a phenomenon that turns your iPod into an unstable explosive hand grenade that could go off at any point. Move over, Samsung Galaxy Note7, Apple did it first.
Anyway, trying to charge the iPod, it only held a charge for 10-30 seconds or so before dying, so it was obvious I had to get a battery replacement. And, still having the flash kit from the other dead iPod, this iPod would shape up to be a nicely modded piece. That is, if I don’t break it. Possible foreshadowing?
Beforehand opening my next iPod up to perform medical malpractice on, this time around I do my due diligence and get ready. First step: I rewatched some videos on how to open iPod classics while only doing minimal damage to them, until I get a very good understanding of how to open it without breaking anything.
I also had ordered proper tools to crack open iPods, namely the Flexible Pry Tool, e.g. an extremely thin, flexible and most importantly, sharp piece of steel. That’s right, this time around I’m pulling out all tricks out the hat to make sure I don’t mess up again.
I also prepared myself in another way, which is only possible for me because of all the iPods I’ve killed, which is to have a practice go first. I took the dead Classic and attached it to the still good Video backplate (this works, their front and backplates are compatible) to make one dead, sealed iPod classic. I then try opening it delicately. I do so within two hours, without damaging anything, and it left me with cautious optimism.
I knew that I only had one shot at not breaking anything, so I was going to take my time, just like I did with the practice iPod I cobbled together. And thus, I settle on a date to take it apart. Tomorrow.
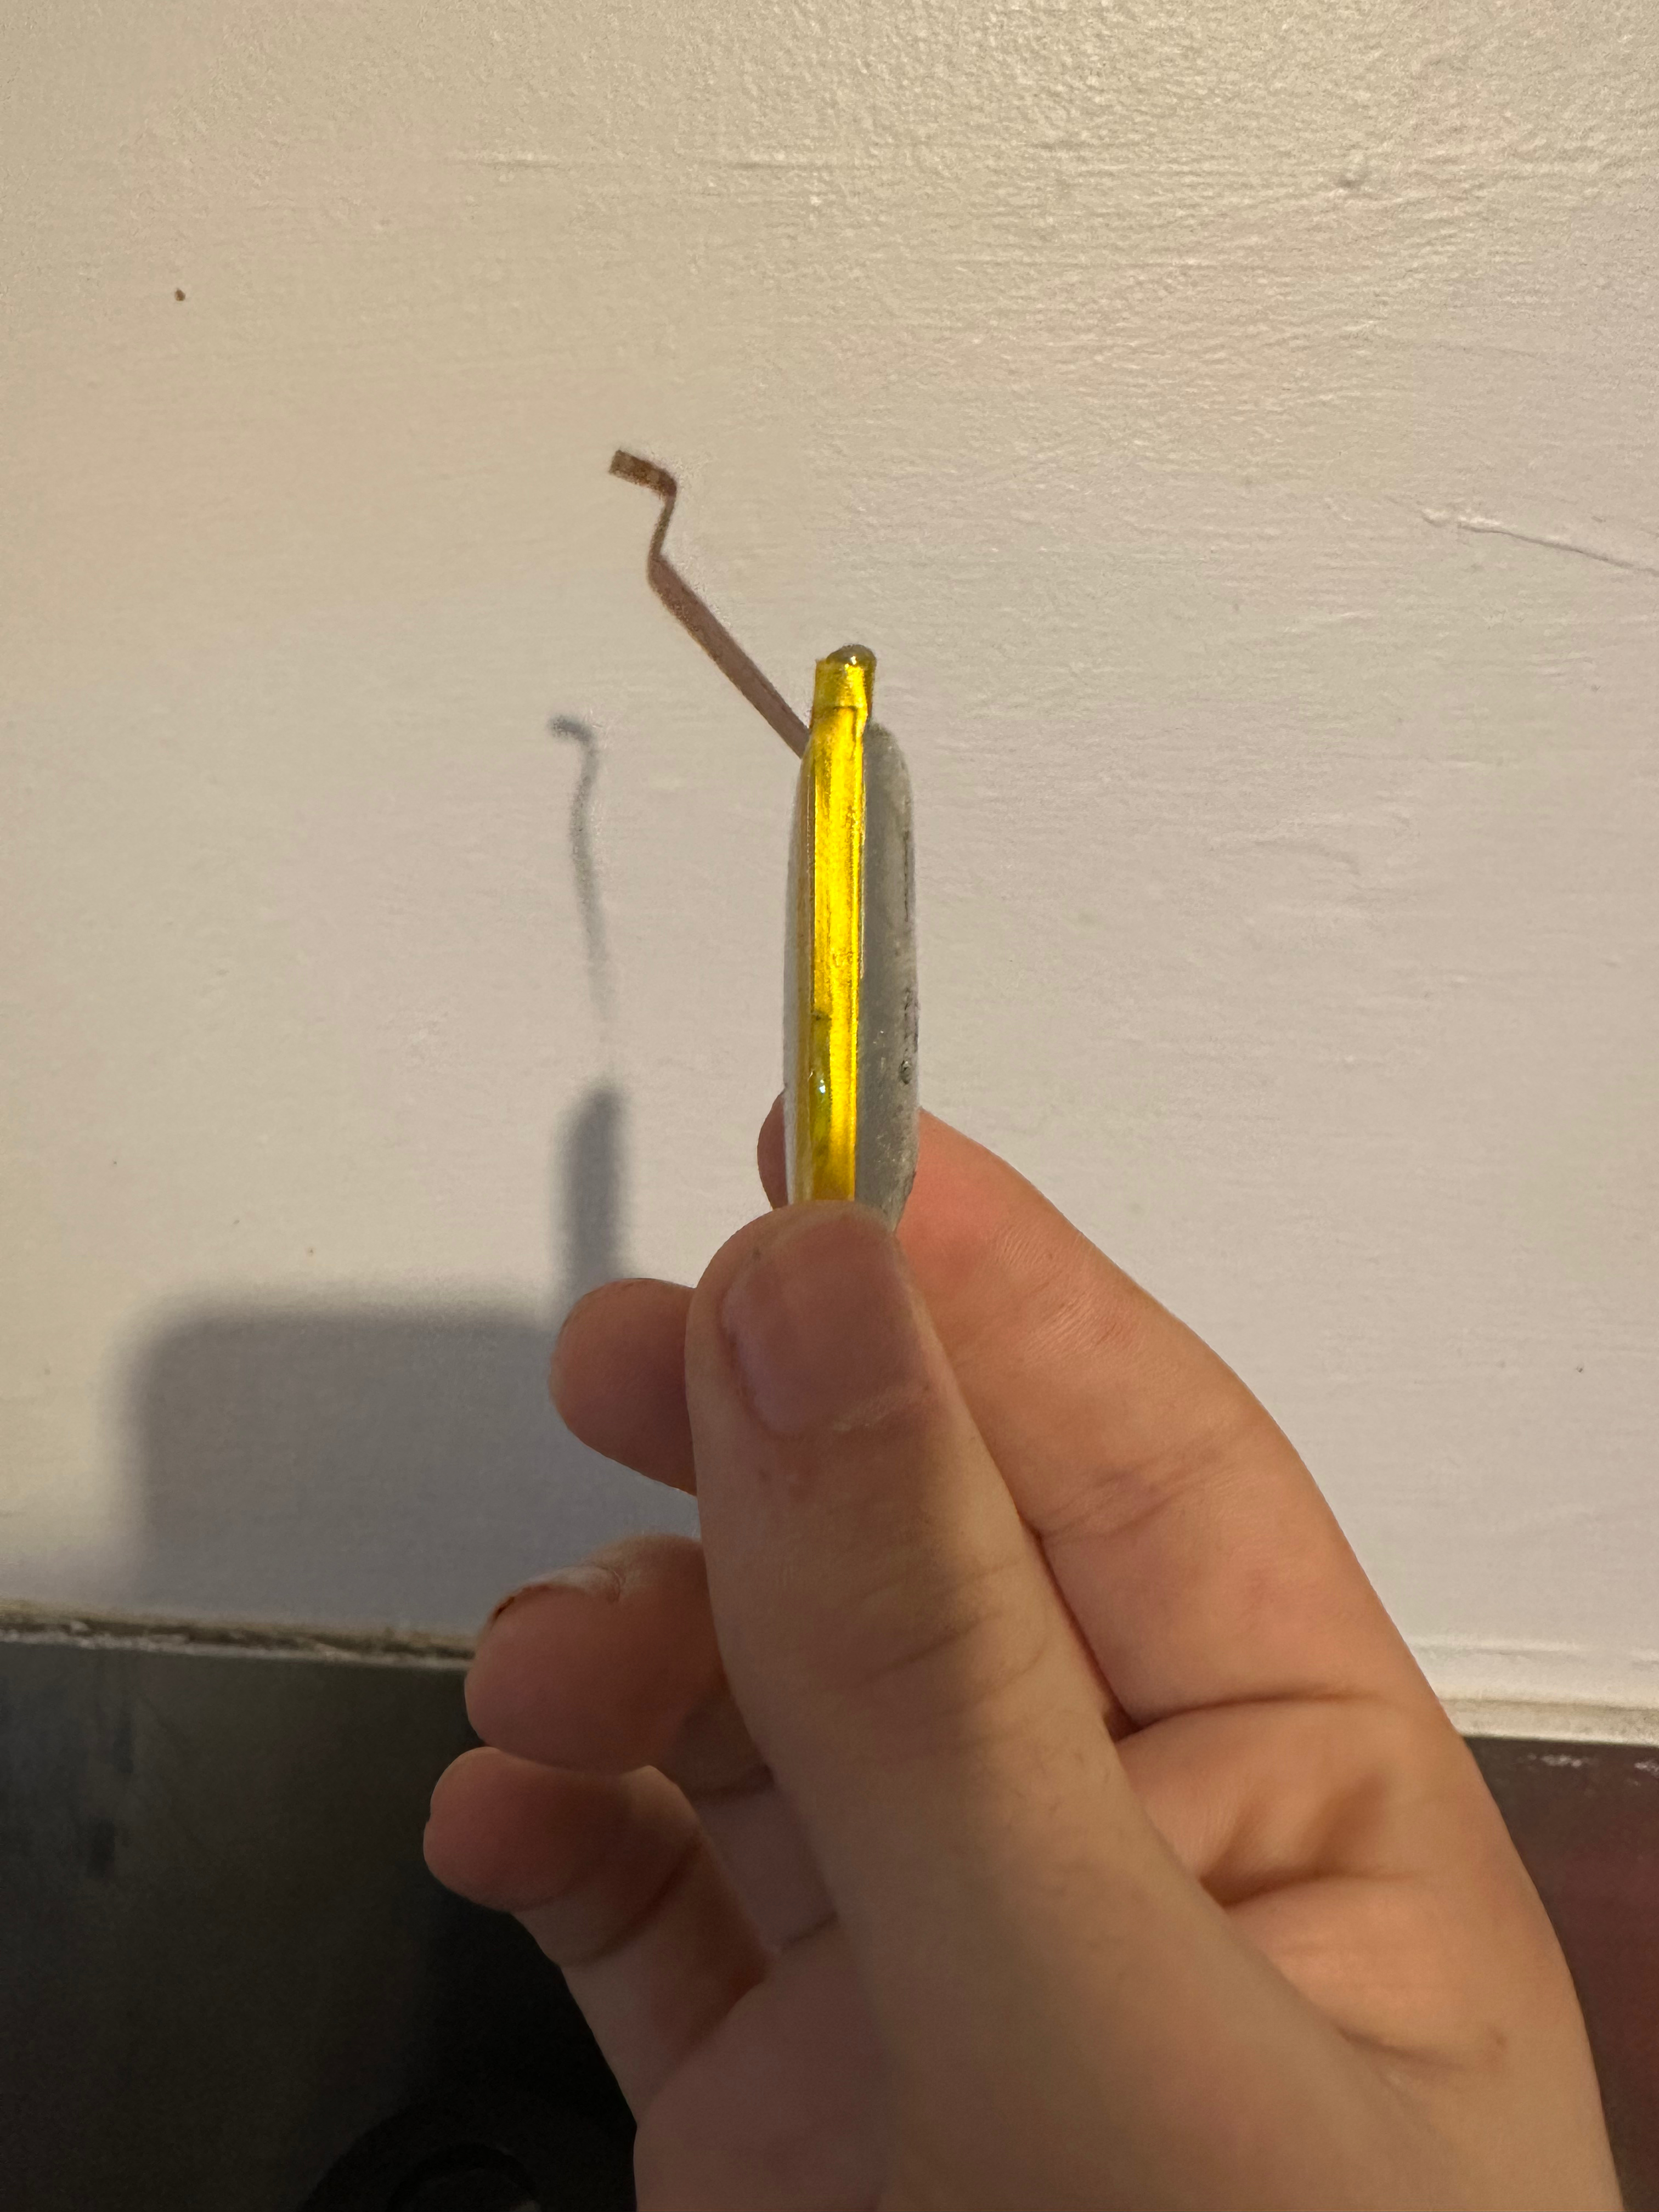
The inevitable march of time carries on and takes us to tomorrow, and at midday, I start to disassemble the iPod. The clips are on much harder this time around, under immense pressure due to the bloated battery. I don’t even hesitate or panic. I take my time, I’m under no time limit (well, other than the Heat Death of the Universe), and just crack on with it. Two hours in, I manage to open the iPod up. I undo the battery connector, the hold and headphone connector too, and then look at the battery. It is indeed, a very chonky boi.
The battery had swollen up so badly, that it was DOUBLE its original size. And, resisting every temptation to put a straw through it like a Capri-Sun, I take it to get properly disposed and recycled instead.
Regardless, I remove the old hard drive and then replace it with the iFlash Quad (instead of putting in 256GB, I go with 384GB as I randomly found a 128GB microSD card laying around) and then had to wait for the battery to arrive because it hadn’t arrived just yet. To be completely honest, waiting for the battery to arrive was a lot harder and was somehow more anxiety-inducing than doing the operation. Probably because I had to leave the iPod half-assembled on my desk for a couple of days. Regardless, the battery arrives, and it’s got just over double the storage capacity of the battery that comes included by standard. It’s certainly a lot bigger than the stock one. After struggling to plug the shiny new battery in, I eventually manage to do so and switch it on.
Lo and behold, it’s alive! I did not break anything this time around while repairing and upgrading the iPod. The display flickers on and fills the dark room with its colour, and it had text that read “Connect to iTunes”, which I do. I’ve come all this way, but to be completely honest with you – I’m not out of the woods just yet. You see, the iPod that I bought this time around was a 6th generation iPod, and not the 7th generation. What this meant was that I was limited to 128 gigabytes maximum on the default iPod OS. Why? Because. The rest of the iPods I had bought, the Video (5th generation) and the newer Classic, (7th) can handle up to 2 terabytes. If I was to attempt to restore the iPod now, two thirds of my storage space would be wasted.
There’s a solution to this. Do I recommend it? No, you’re probably going to run into weird, funky and kooky problems that could be avoided if you just take the easy route. The solution is – completely forget about the stock OS and go with an alternative, Rockbox. There’s also the issue that I’ve forgotten how to do it exactly, since it’s been a couple of months.
I’m pretty sure the steps are as follows.
Do not follow these instructions unless you’re actively willing to risk irrecoverably bricking / breaking your iPod. These instructions may be completely wrong, and I may be misremembering because I originally did this as a walking zombie at 3am with 10 minutes of sleep. Regardless the outcome, I am not responsible for your property.
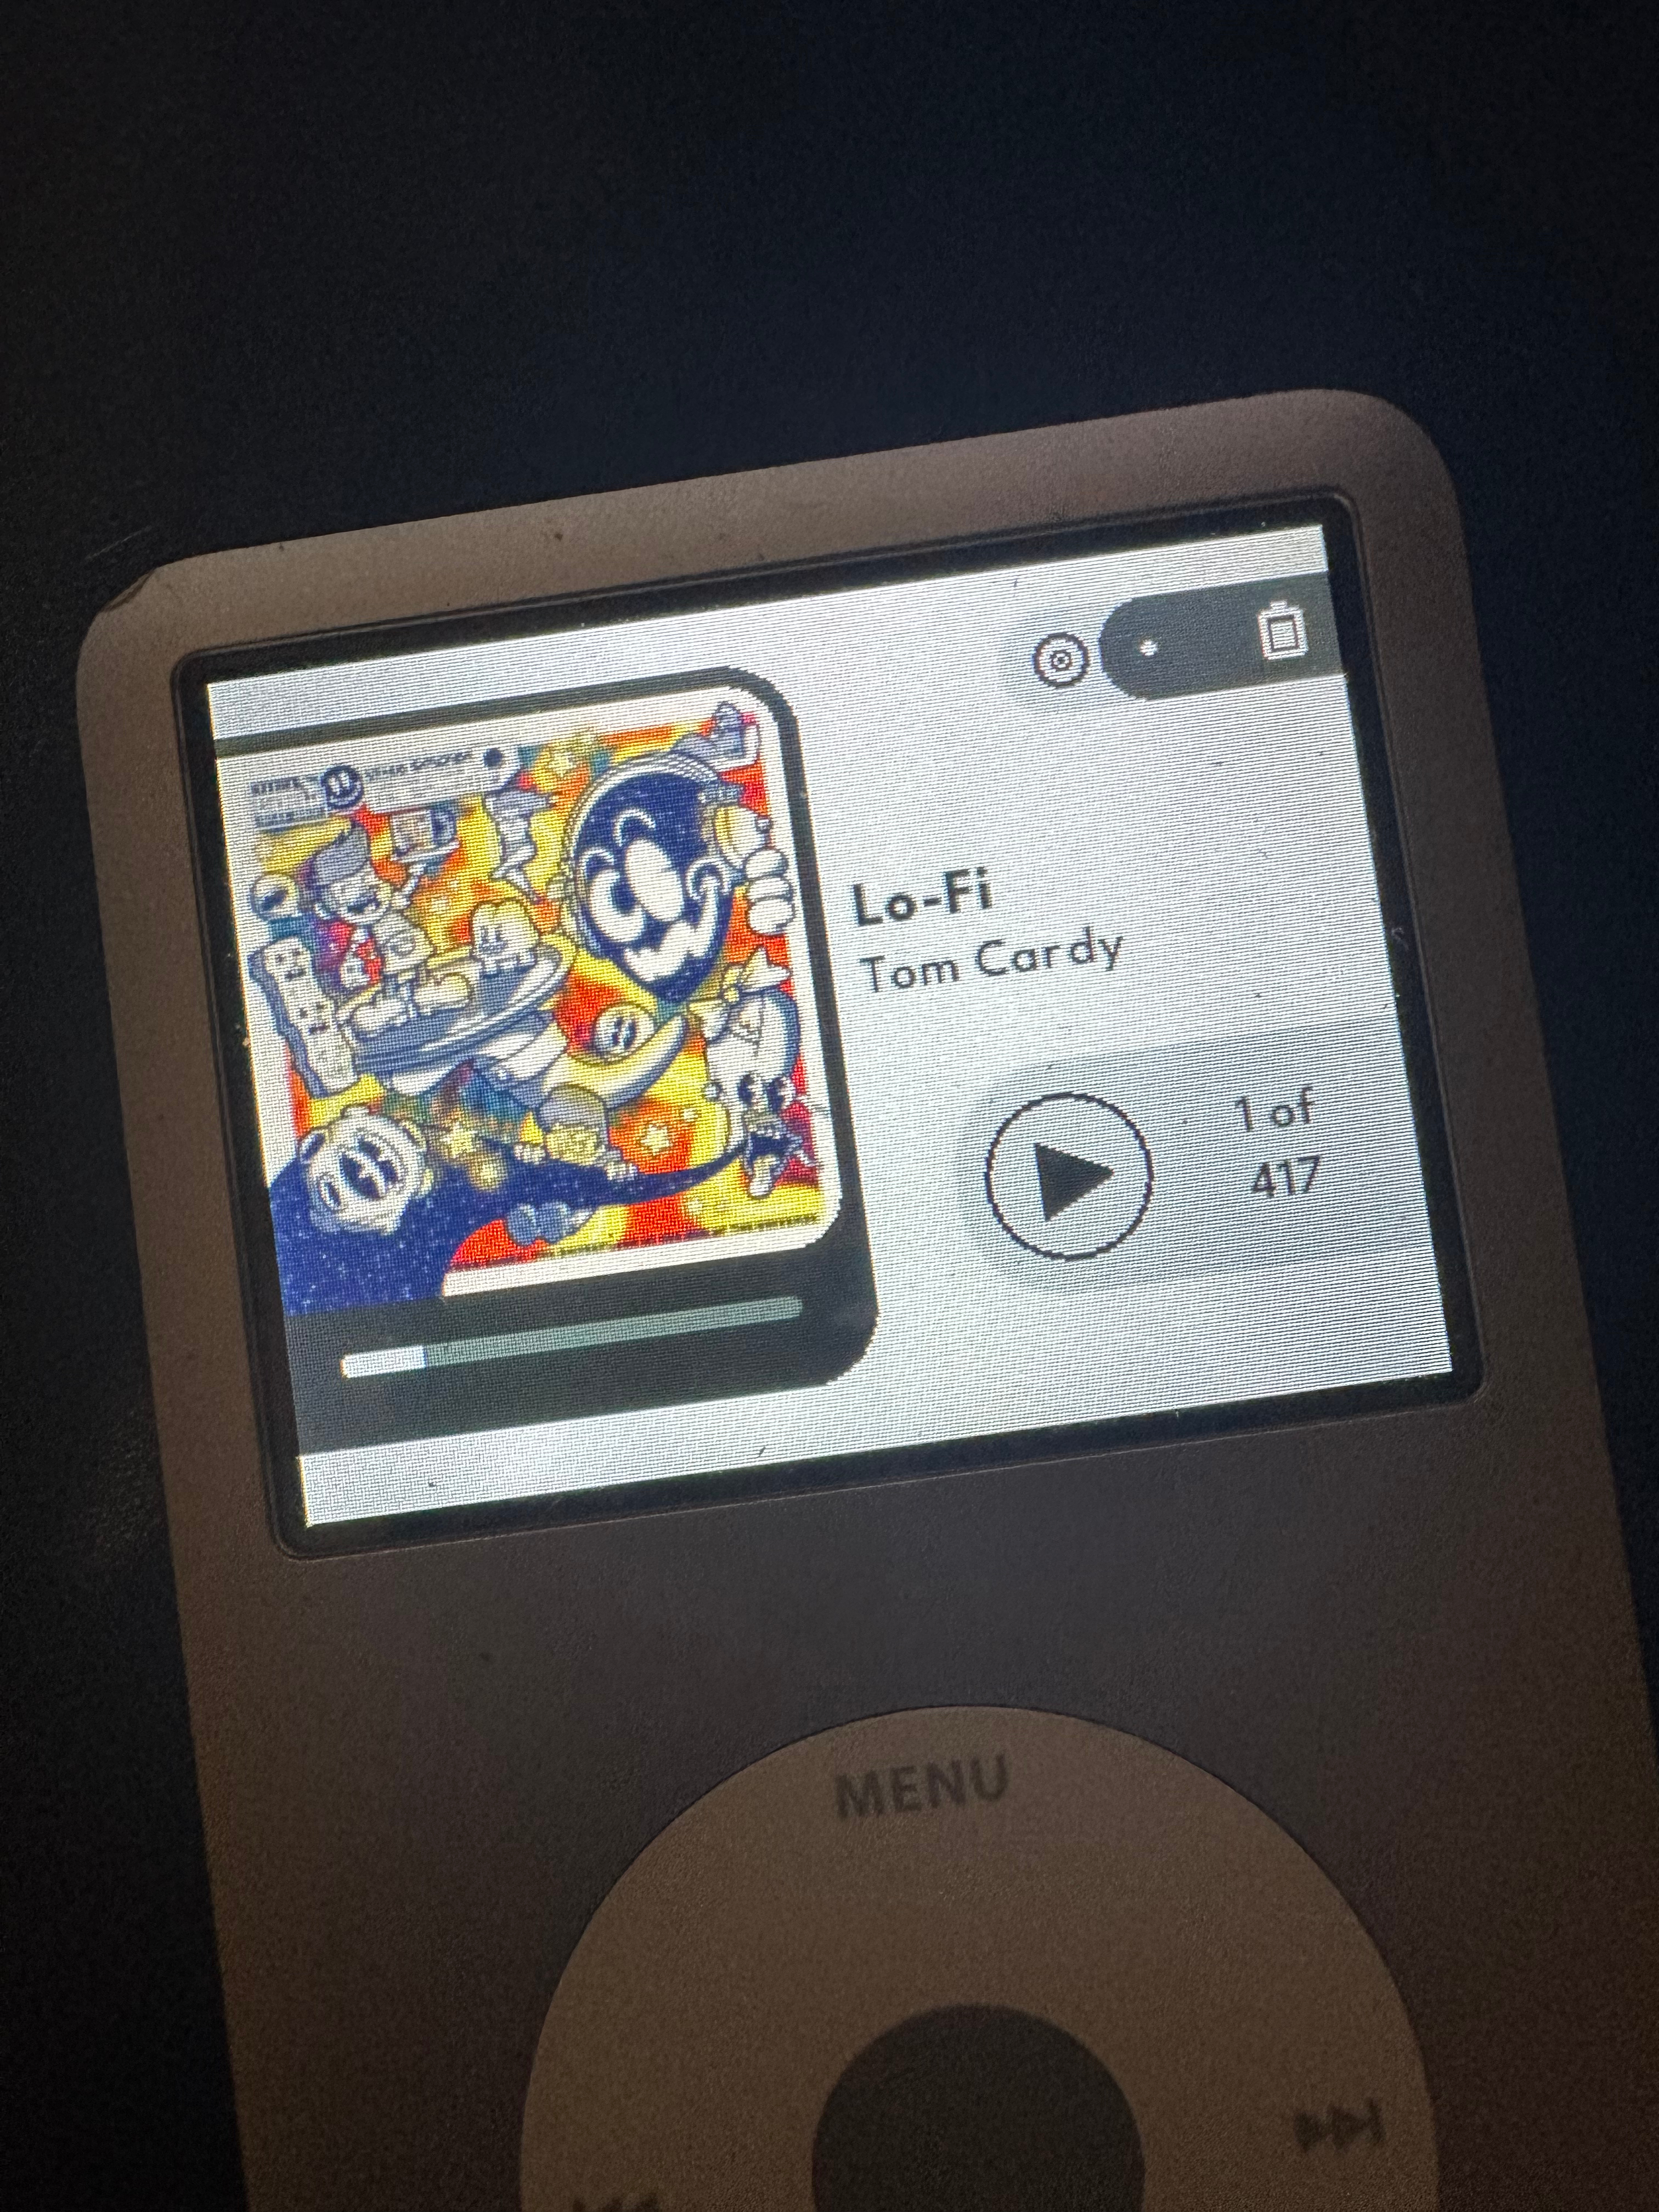
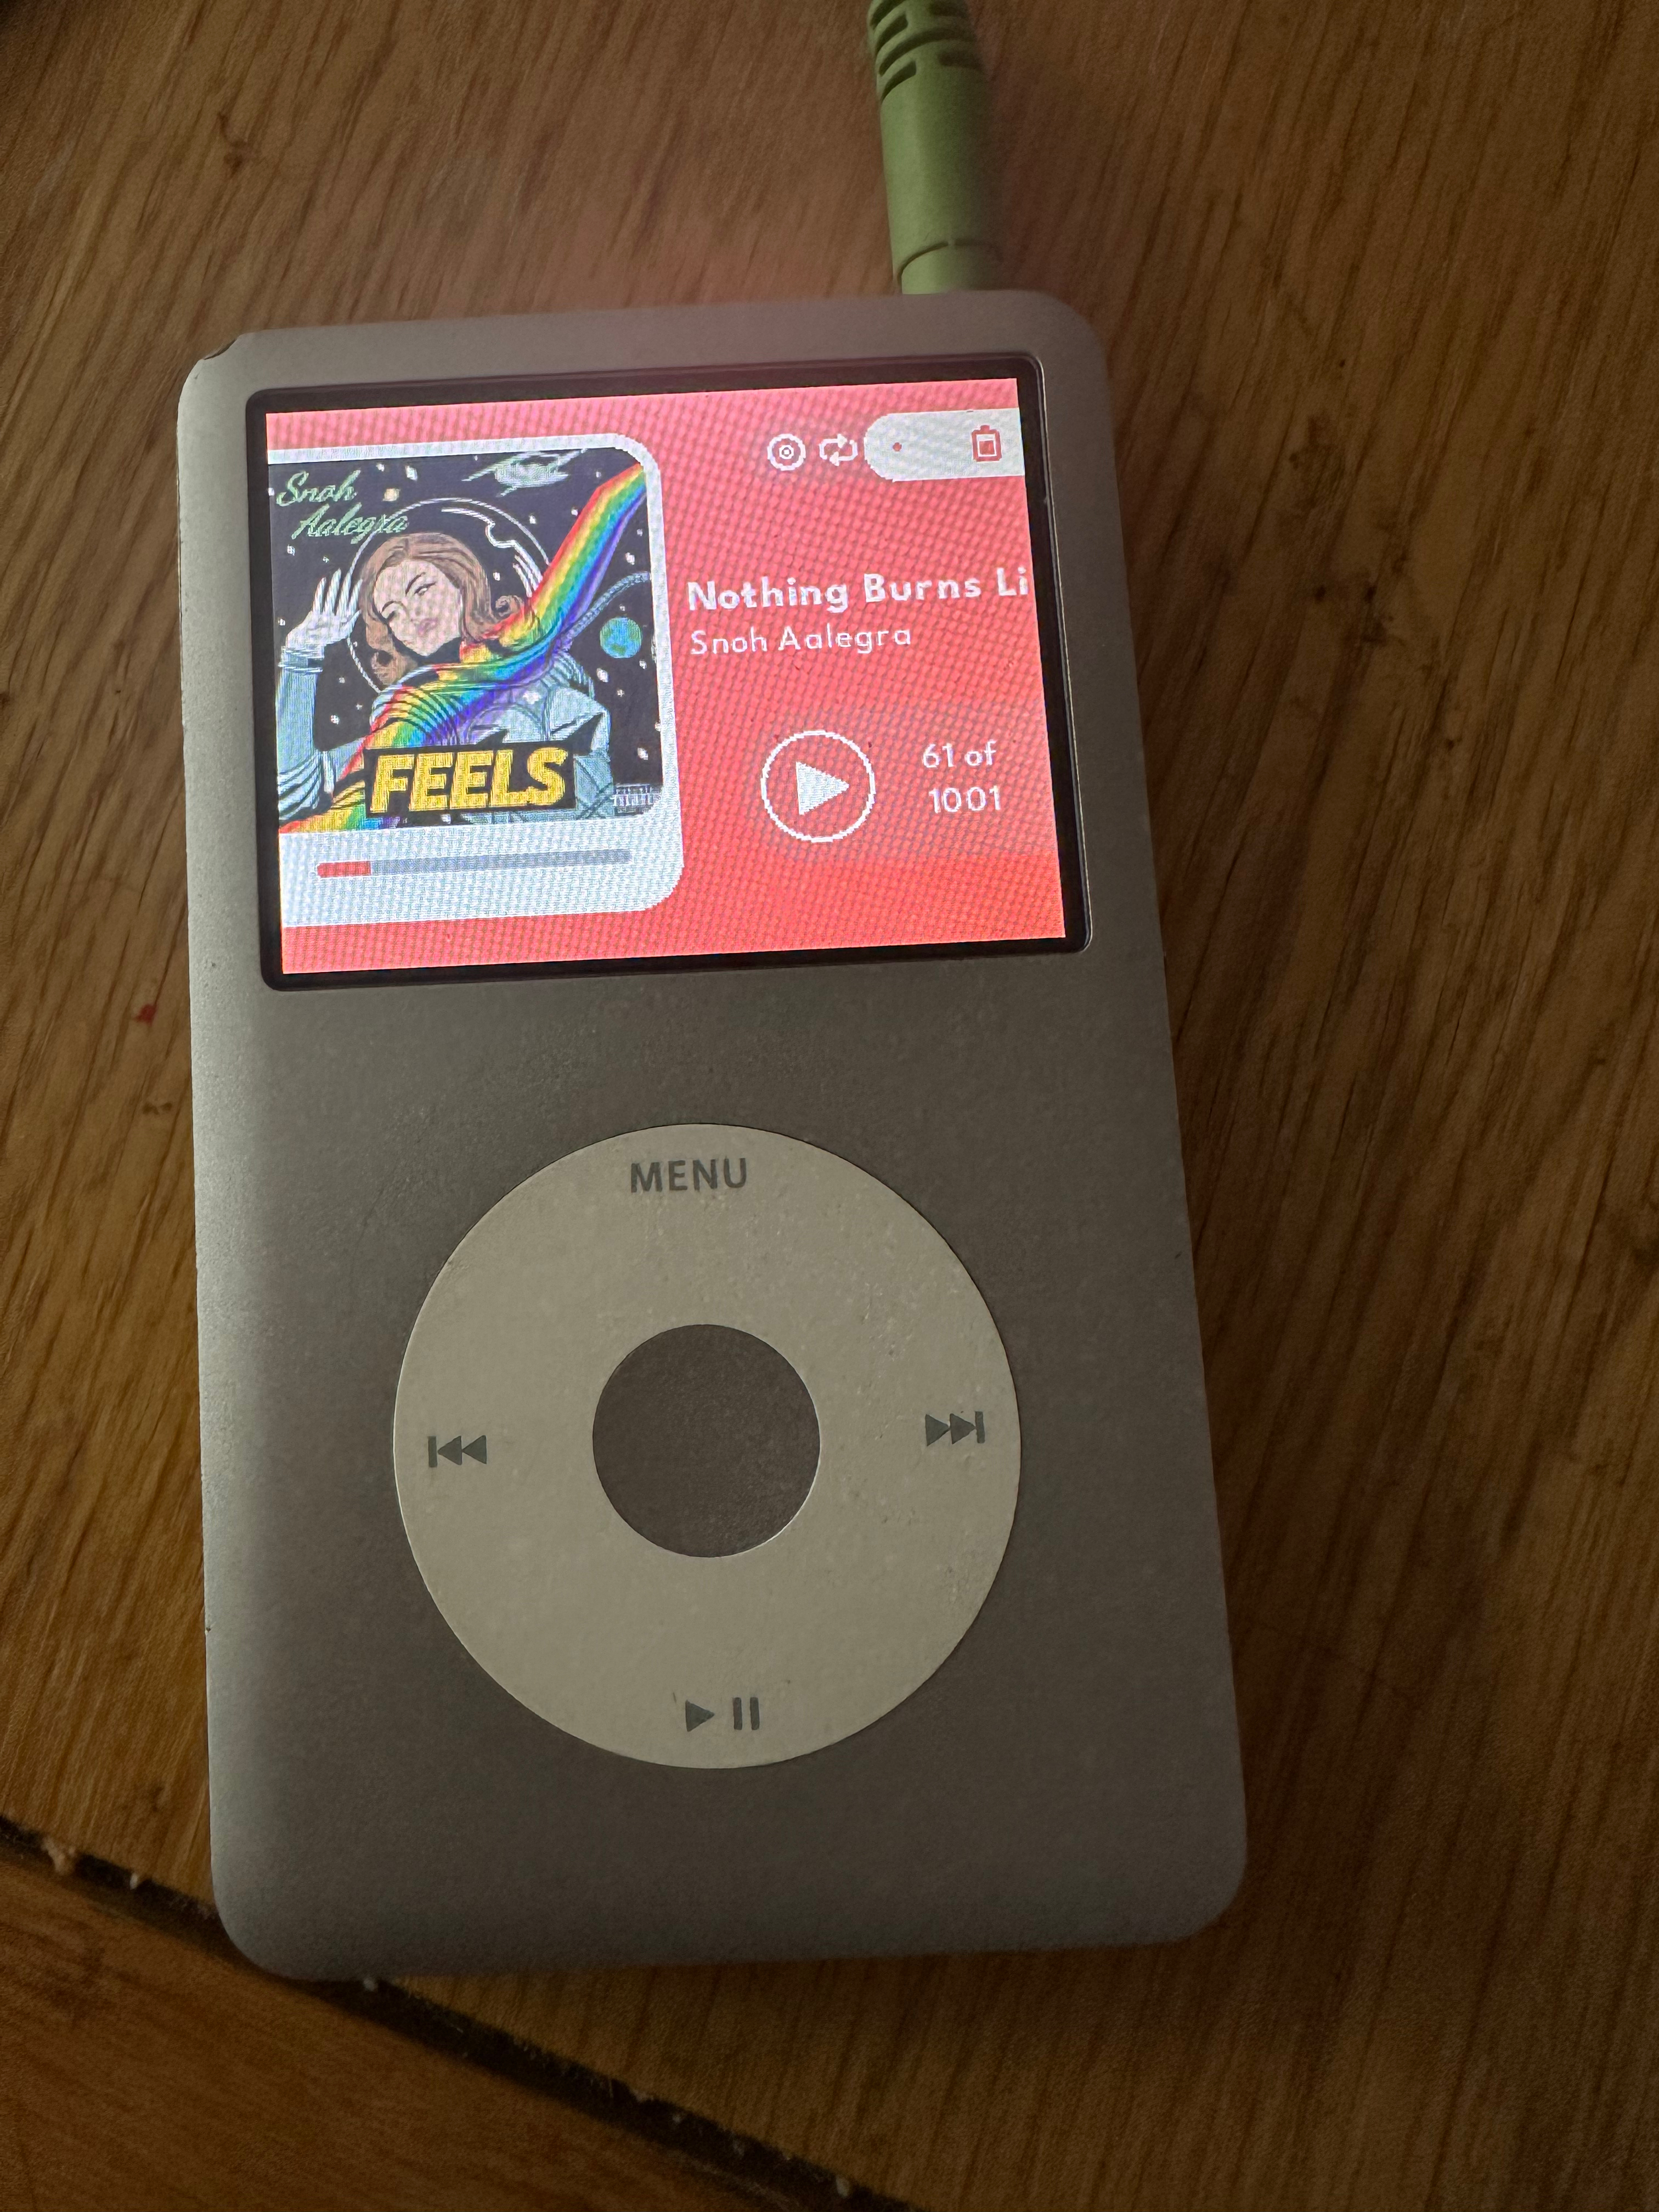
Regardless of what my method was, doing whatever voodoo magic I did essentially caused the iPod to now only have Rockbox, and attempting to boot into the original OS would make the iPod ask for an iTunes restore. But, Rockbox works, and I have all of my 384 gigabytes of storage! As far as my knowledge goes, going over 128 gigabytes on Rockbox should work, my music library is about 70GB right now, with FLACs. I’ll update the article when I find out what happens when you cross the threshold.
There are a couple more things to do, to finish setting the modified iPod up, which is to give it a custom theme, which is as easy as dragging some files into the .rockbox folder, and then simply just applying the theme from within the iPod. And finally, we need to set up scrobbling, which just needs you to use a plug-in built into the full package of Rockbox. And yes, I do mean scrobbling on last.fm. You’ll need some software on your own computer to get it to work, and you’ll have to use it at least once a fortnight. But hey! With it, you’ll be able to keep track of what depraved, weird as hell music you listen to, and share the results with your confidants.
With that, that’s the iPod completely built and ready to rock! It lasts for 3 days without having to be charged, it’s got all the tracks that I like on it, and it’s just fun to use on a day to day basis! And with that, I’ve got a couple of bits of advice for anyone else trying to modify their iPod to make it a lot more usable in 2025.
All in all, if you end up modding or repairing your own iPod, just don’t make the same silly mistakes that I have done. You’ll regret it.